Simple Training Guide
|
SOP Title |
Building a HubSpot Landing Page |
|
Owner |
Marketing Operations |
|
Effective Date |
07/29/2026 |
|
Last Updated |
07/29/2026 |
|
Purpose |
Shows users how to build, review, and prepare a HubSpot landing page for publishing. |
Loom Video: Landing Page Training SOP.mp4
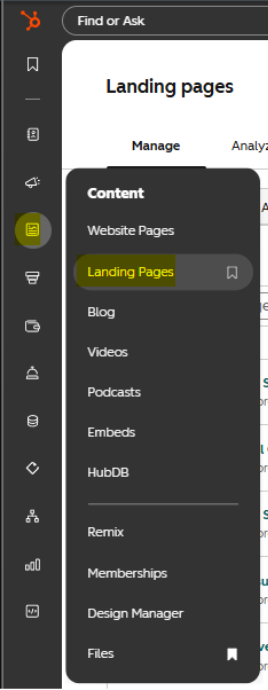
How to use this guide: Complete each step in order and add the matching screenshot in the space provided.
Step 1: Open Landing PagesDescription: In HubSpot, go to Content > Landing Pages.
Screenshot / Picture for Step 1
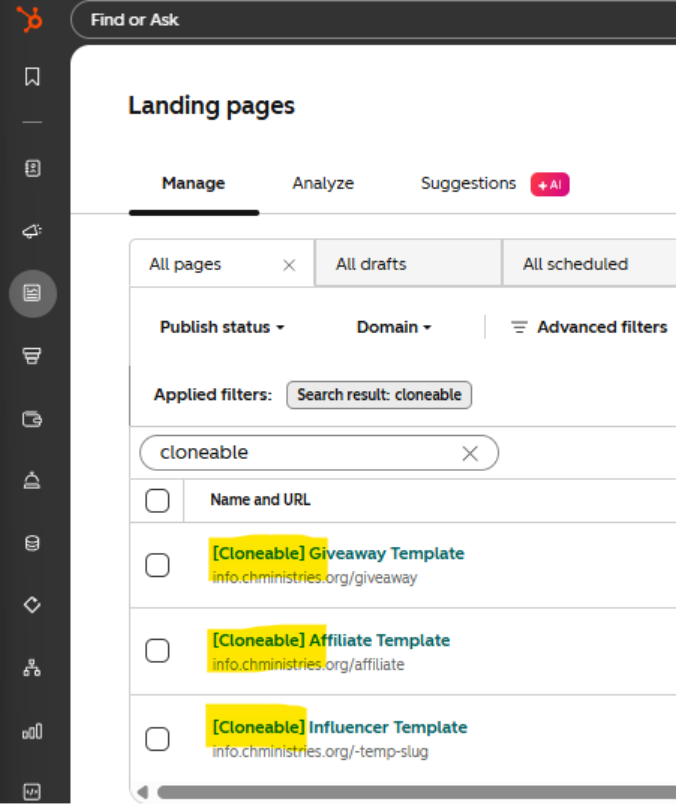
Step 2: Clone an existing landing page using one of the approved "[Cloneable] templates
Description: Search the term "Cloneable" in the search bar, then hover over the selection and click "Clone"
Screenshot / Picture for Step 2
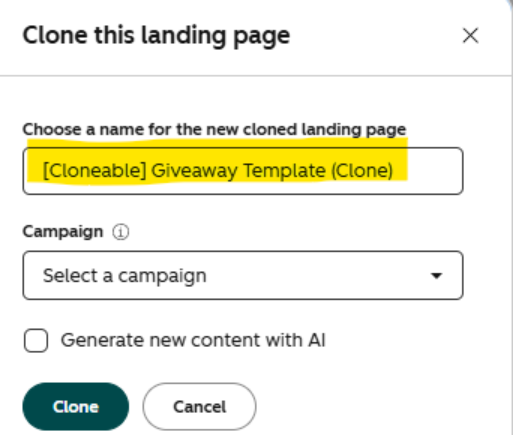
Step 3: Name the Page
Description: Rename the landing page with a clear internal page name that follows the approved naming standard.
Screenshot / Picture for Step 4
Step 4: Add the Page Content
Description: Click on each individual content element and update any copy, headings, images, buttons, and other page modules as necessary
Screenshot / Picture for Step 5
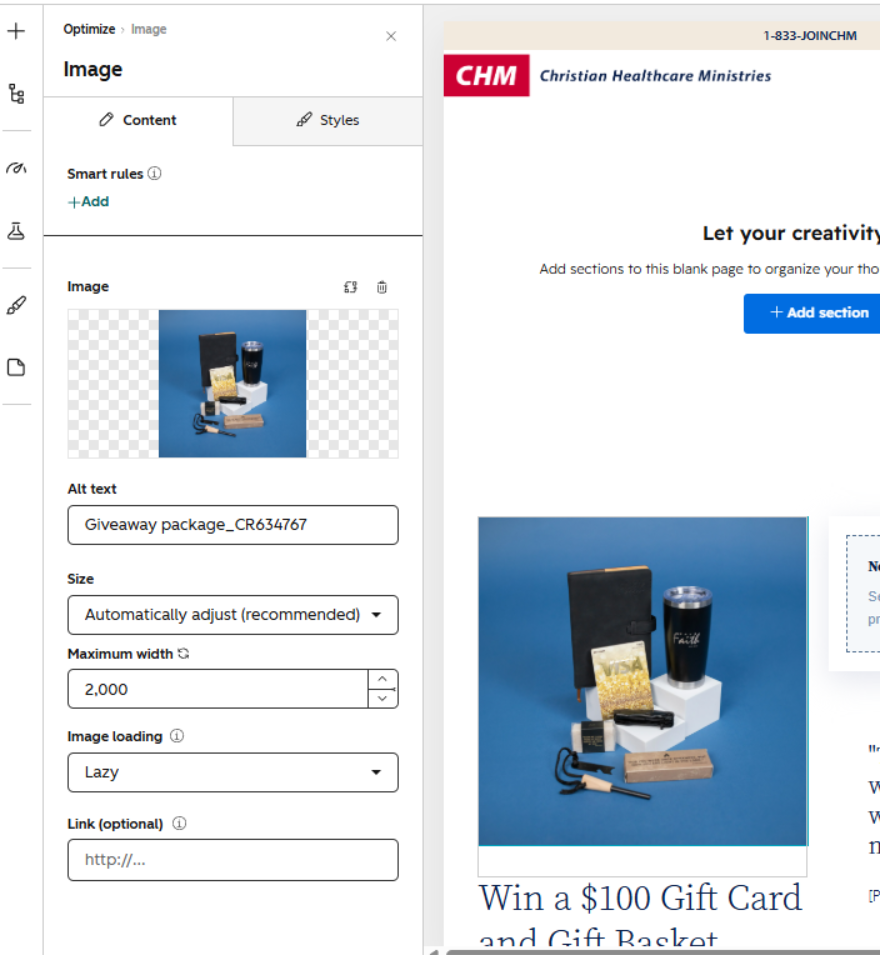
Step 5: Add the Form or CTA
Description: If a form or CTA is needed, select the approved form and confirm the page content matches the form or CTA purpose.
Screenshot / Picture for Step 6
Step 6: Complete Page Settings
Description: Click the settings button, then work with the appropriate team to obtain the approved page title, URL, meta description, campaign, and featured image. Please see the chart below for the appropriate teams by responsibility:
Screenshot / Picture for Step 7
|
Responsibility |
Team |
|
Page title |
SEO team |
|
Page URL |
URL team |
|
Meta description |
SEO team |
|
Campaign |
Creative content team |
|
Featured image |
Creative content team |
|
Additional code snippets |
URL team |
Step 7: Preview and Test
Description: Click the preview button and check desktop and mobile layouts, test all links, and submit a test contact via the form to confirm it works correctly.
Screenshot / Picture for Step 8
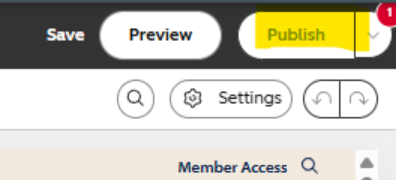
Step 8: Publish the Page
Description: After approval, click Publish or schedule the page for the approved date and time.
Screenshot / Picture for Step 9